
In winter, renovation work moves indoors, where working conditions are much more favorable for the crew. However, when the radiators are on inside and it’s freezing outside, painting may require additional steps to ensure it goes smoothly. The paint needs the same conditions as in summer, but they’re harder to achieve and maintain. The wall must be at the right temperature, and the humidity and ventilation in the apartment should be at the correct levels. Only under these conditions will the paint dry without streaks or blisters.
In this article, you’ll learn that:
- You can paint walls in winter in a heated building if the temperature and humidity specified in the paint’s technical data sheet are maintained until the coat is dry.
- The success of the painting depends on the temperature of the coldest wall, not the air in the room, so it’s a good idea to measure it with a pyrometer before starting work.
- You don’t need to turn off the radiator under the wall you’re painting; simply turn it down so that the paint strokes dry evenly and don’t overlap.
- Leaving a window ajar overnight after painting cools the window jamb and the wall beneath the windowsill, so it’s better to ventilate briefly and thoroughly once the coat has dried.
- In winter, the air in an apartment can be too dry, while in a new building it can be too humid, and each of these situations requires a different approach.
Can you paint walls in the winter?
Walls can be painted in the winter, provided that the work is carried out inside a heated building and the paint dries within the temperature range specified by the manufacturer. A typical entry in the technical data sheets for interior emulsion paints specifies an air and surface temperature range of +5°C to +25°C and relative humidity below 80%. This requirement applies to both the painting process itself and the entire drying period.
It is easy to overlook certain elements in this specification. The first is the substrate—that is, the wall—and not just the air in the room. The second is time, because the specified range must be maintained until the coating is dry. The third is humidity, which in winter can sometimes be too high and, moments later (when the radiators are turned on), too low.
A temperature of +5°C is the lower limit and leaves no margin for error. If the thermometer in the room reads just above +5°C, the exterior wall is cooler, and the temperature may drop even further at night.
Painting at this temperature is acceptable only if it is the temperature of the coldest wall being painted and if it remains at that level until the paint dries. The binder particles in emulsion paint form a uniform layer as the water evaporates. If the temperature is too low, this process is only partially complete, resulting in a coating that eventually begins to crumble and wears away when touched.
Wall temperature is not the same as air temperature
The surface of an exterior wall in a room is cooler than the air inside the apartment during the winter. The wall constantly loses heat to the outside of the building, so its interior side does not warm up to the temperature of the air. The poorer the insulation and the closer the wall is to windows, the greater the temperature difference; this is why it is clearly noticeable in older, uninsulated buildings.
The coldest spots in a room are usually the exterior corners, window jambs, and the strip of wall along the ceiling crown molding. This group also includes the wall behind furniture placed directly against the exterior wall. Air does not circulate freely there, so it does not warm the surface.
This temperature difference cannot be expressed as a single number, as it depends on the building’s construction and the severity of the cold. Therefore, it must be measured—and all you need is a pyrometer, or infrared thermometer, which reads the surface temperature without coming into contact with it. The measurement is taken on the exterior wall, in a corner and near a window, once before painting begins and again in the evening. This is supplemented by a hygrometer, which shows the relative humidity of the air in the room. Both instruments are cheaper than it would cost to redo the entire paint job.
A frozen wall in a building that has not been heated for an extended period of time is a special case. When the heat is turned on, the air warms up quickly, while the wall releases the accumulated cold much more slowly. Painting can only begin once a pyrometer pointed at the wall shows a value within the range specified in the product data sheet.
A cold wall poses yet another risk. In humid air—for example, in a kitchen, bathroom, or a newly plastered building—water vapor condenses on its surface. Moisture settling on the drying paint causes sticky streaks to appear on the fresh coat.
Heating While Painting—Turn It Up or Turn It Down?
A common piece of advice is to turn off the radiators and ventilate the room before painting. It sounds reasonable, but once the windows are closed, the air heats up quickly, while the walls heat up much more slowly because masonry has a high heat capacity. The paint is then applied in warmer air to a cooler wall. In a well-insulated apartment, this usually isn’t an issue; however, in an older building during cold weather, the exterior wall’s temperature may drop below the lower limit of the temperature range specified in the product data sheet.
Technical data sheets require that painting be carried out under consistent temperature and humidity conditions. This stability allows you to apply successive coats of paint while they’re still wet, before the previous coat begins to dry. Therefore, it is more important that conditions remain consistent while painting the wall than for the room to be exceptionally warm.
The most common problem with winter renovations, however, arises after the work is completed. The crew leaves, and the heat in the empty apartment is turned down to a minimum because no one is living there yet. On top of that, a window is left ajar to help the walls dry faster. However, the conditions specified on the label remain in effect until the paint is completely dry—which means they also apply at night after painting. Neither the wall temperature nor the air temperature can fall below the lower limit specified by the manufacturer during this time.
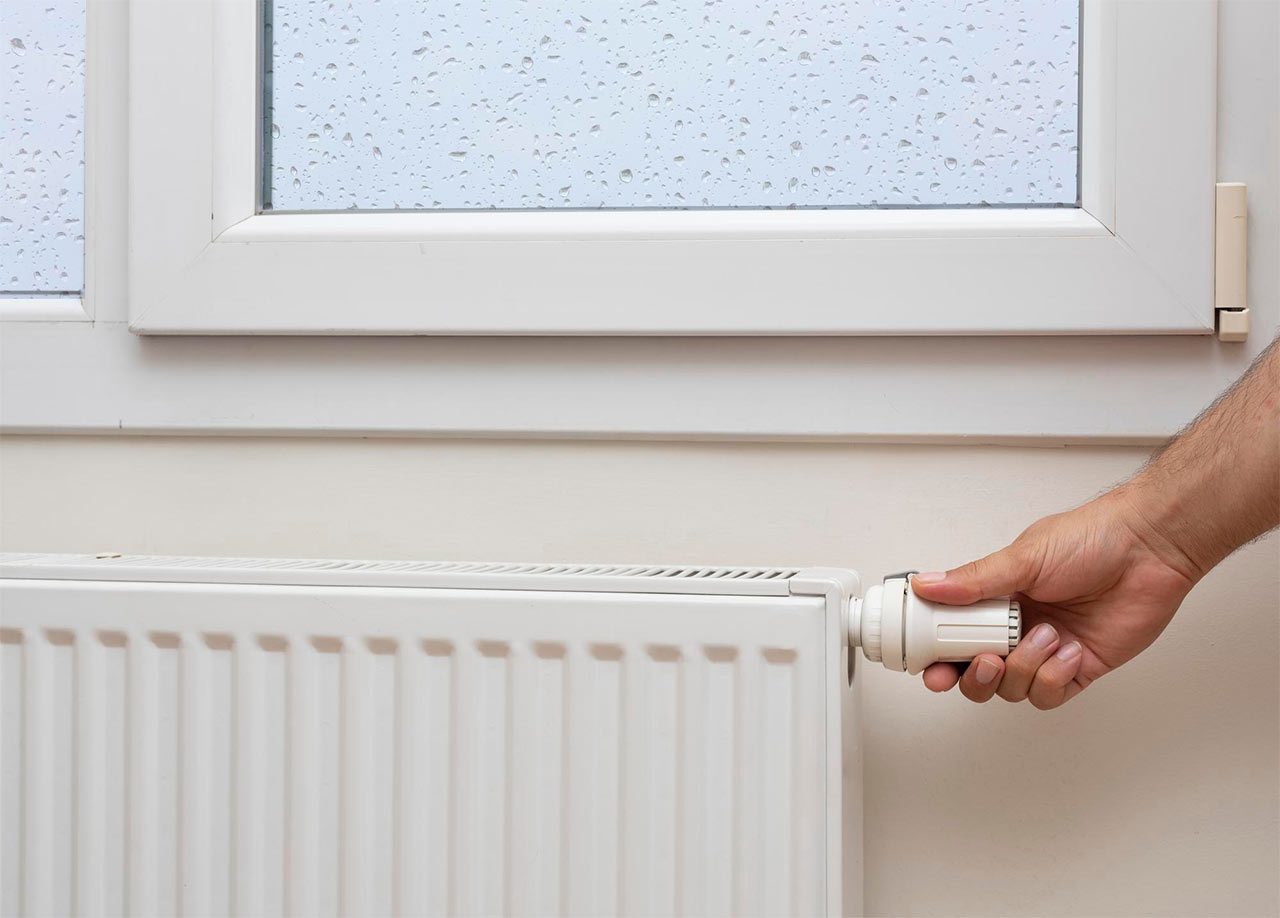
You don’t need to turn off the radiator located under a painted wall completely; simply turn it down a bit. The strip of wall above a running radiator dries faster than the rest of the surface, causing the joints between the strips to dry too soon, and once dry, the overlaps become visible. Lowering the radiator’s output makes it easier to keep the wet edge across the entire width of the wall.
Air-Drying After Painting in Winter
While painting and during the initial drying period, keep the windows closed, and make sure there are no drafts in the room. Once the coat of paint has dried, open the windows wide for a few minutes, then close them and allow the room to return to a steady temperature. Brief, intense ventilation refreshes the air without cooling the walls.
The worst thing you can do is leave a window ajar all night. For hours on end, it cools the window jamb and the strip of wall beneath the windowsill—the areas that are already the coldest in the room.
The air is too dry in a heated apartment
Technical data sheets usually specify only the upper limit for relative humidity, which is below 80%. This is because air that is too humid slows down the drying of the paint. In winter, however, in a heated and occupied apartment, the relative humidity is often significantly lower than the conditions for which the data sheets specify drying times. Dry air also affects the painting result, because the paint at the edges of a stroke dries before it has time to blend with the next one.
The painter can counteract this. While painting, the windows remain closed, and there are no drafts in the room. The wall is divided into sections that can be painted without interruption, and large surfaces are painted at a faster pace than usual.
The opposite situation—excess moisture—primarily affects new buildings.
A New Building in Winter and Construction Moisture
In a building where plastering is done in the fall or winter, the walls and floors contain a lot of process water. Heating accelerates its evaporation, so indoor humidity rises, and the cool exterior walls absorb it. The same unit that will have excessively dry air once occupied is too humid during the finishing stage.
Technical data sheets specify minimum curing periods for the substrate. A typical requirement is at least about 4 weeks for fresh mineral plasters and about 2 weeks for gypsum plasters. Finishing coats are applied only after the plaster has completely dried. In winter, these are minimum values; simply counting the days on a calendar is not enough. In a cool and damp building, plaster takes longer to dry, so readiness for painting is determined by assessing the substrate’s moisture content before painting.
Heating, combined with regular, brief ventilation that draws moisture outside, accelerates the drying process of the building. Plaster that feels dry to the touch may not be dry deep inside, so the moisture content of the substrate must be measured with a moisture meter.
Primer, drying, and a second coat of paint in winter
The drying times specified in the technical data sheets apply to specific reference conditions, typically around +23°C and 50% relative humidity. The data sheets also note that lower temperatures, higher humidity, and poor air circulation will prolong drying times.
The time specified in the data sheet is therefore the minimum achievable under reference conditions. In winter, the condition of the surface determines when to apply the second coat of paint, as well as when to paint over the primer. The next coat should be applied only after the previous one has dried completely across the entire wall, including the coldest corner—which takes the longest to dry and is the easiest to overlook.
The issue of coating curing is different. Product data sheets state that the paint achieves full wash resistance after 28 days. If painting and drying took place within the temperature range specified on the product data sheet—that is, above +5°C—this period does not extend in winter. This makes it easier to schedule the final inspection of the work. The client should be advised not to have the walls wet-cleaned before this time has elapsed, as cleaning the walls before the coating has fully cured can damage it.
What do you see after a week? Three signs of winter painting
Some of the mistakes made when painting in the winter don’t become apparent until a few days later, once the paint has dried and the room is lit by natural light. Three issues come up most often.
- Sticky, yellowish, or brown streaks most often appear in the bathroom, kitchen, and on exterior walls. They are caused by a combination of a cool wall and high humidity while the paint is drying. This phenomenon, known as surfactant leaching—the leaching of surfactants from the paint film—occurs much more frequently in winter than in summer.
- The coating becomes powdery, stains your fingers, and retains its color poorly. This symptom indicates that the paint was applied or allowed to dry at a temperature lower than the range specified in the data sheet. In the industry, this is called “chalking” of the coating.
- Stripes and overlaps are visible on the wall, and adjacent areas differ in shade. This is caused by uneven drying of the paint, resulting, for example, from a running radiator, a draft, or a cold corner. Technical data sheets note that temperature and humidity during application and drying can affect the perceived color of the coating. This is most clearly evident in the streaks visible under harsh light, especially when the light is coming from the side.
Wszystkie trzy objawy mają wspólne źródło, czyli warunki, w jakich farba schła. Pomiar temperatury ściany i wilgotności powietrza przed malowaniem pozwala zapobiec większości z nich.
Can you paint a facade in the winter?
As a general rule, exterior walls are not painted in the winter. The risks are determined by nighttime temperature drops and moisture condensing on the wall while the paint is drying, even if daytime temperatures remain within acceptable limits. Application conditions are specified in the technical data sheet for the specific exterior paint. Painting exterior walls during the colder months will be discussed in a separate article.
Contractor’s Winter Checklist
Before starting a winter project, it’s a good idea to check a few factors that affect the durability and appearance of the coating:
- pyrometer measurement on the exterior wall, in the corner, and near the window jamb, before painting and in the evening,
hygrometer in the room, - the coldest wall to be painted within the temperature range specified on the paint label from application to drying, including at night,
a frozen wall must first be warmed up and only then painted, - the radiator under the wall to be painted is turned on but not turned up to full power,
- windows closed during painting and briefly ventilated after the coat has dried,
- in a new building, measure the substrate moisture content instead of counting days,
- paint stored in a warm place, as the product labels require protection against freezing; typically stored at +5°C or higher, and a bucket left overnight in a cold car may freeze,
- the client informed in writing that 28 days are required for the coating to reach full curing.
Painting in the winter isn’t any harder than in the summer, but you have to pay closer attention to the conditions. For an unusual project, a new building with construction moisture, or a deadline that can’t be postponed, you can discuss the working conditions with specialists—contact information for whom is provided by STYLINE PRO Technical Consulting.
Frequently Asked Questions
Czy zimą można malować ściany?
Ściany można malować zimą wewnątrz ogrzewanego budynku. Warunek z karty farby dotyczy temperatury powietrza i ściany przez cały czas schnięcia.
Przy jakiej temperaturze można malować ściany?
Ściany maluje się w zakresie temperatur podanym w karcie farby, typowo od +5°C do +25°C dla powietrza i podłoża. Do porównania przyjmuje się najzimniejszą malowaną ścianę w takich miejscach jak pasy przy oknach i narożniki.
Czy można malować przy 5 stopniach?
Temperatura +5°C to dolna granica dopuszczalnego zakresu. Jeśli tyle pokazuje termometr w pokoju, ściana zewnętrzna jest chłodniejsza, a w nocy może być jeszcze zimniej.
Czy można malować w temperaturze poniżej zera?
Malowanie farbą wodną poniżej zera jest niedopuszczalne. Taka temperatura wykracza poza zakres podany w kartach, a woda zawarta w farbie może zamarznąć.
Czy przed malowaniem trzeba zakręcić kaloryfery?
Kaloryferów nie trzeba zakręcać. Ważniejsze są stabilne warunki, a grzejnik pod malowaną ścianą wystarczy przykręcić.
Ile schnie farba na ścianie zimą?
Farba schnie zimą dłużej, niż podaje karta, ponieważ czasy w kartach dotyczą około +23°C i 50% wilgotności. O nałożeniu drugiej warstwy decyduje stan powłoki.
Po jakim czasie od gruntowania można malować?
Farbę nakłada się po czasie podanym w karcie gruntu dla warunków odniesienia, a zimą później, gdy grunt wyschnie również w zimnych narożnikach.
Czy zimą trzeba dłużej czekać z myciem ścian?
Okres oczekiwania na mycie ścian zimą się nie wydłuża, jeśli malowano w zakresie temperatur z karty. Pełna odporność na zmywanie pojawia się po 28 dniach, tak samo jak latem.
Czy można malować nowe mieszkanie zimą?
Nowe mieszkanie można malować zimą po wyschnięciu tynków i wylewek. Gotowość podłoża potwierdza pomiar wilgotności.
